How to Navigate and Complete Practice Exams
Step-by-Step Guide to taking practice exams
Last updated 4 months ago
Mastering the acemate exam interface is the first step toward better scores. This guide covers everything from launching your first practice session to submitting your final answers, ensuring you can focus on the content rather than the tools.
1. Starting a Practice Exam
Before you begin, ensure you are in the correct course workspace.
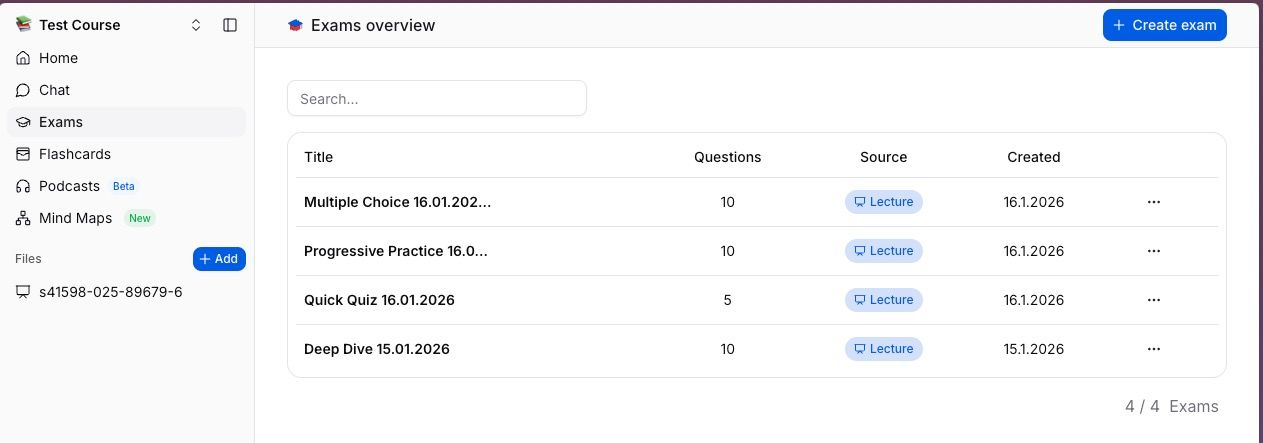
Step 1: Access Your Exams
Navigate to Exams in your course sidebar.
Browse the list of generated exams to find the specific session you wish to practice.
Step 2: Open the Exam
Click on the exam title.
Review the Exam , check the number of questions, covered topics, and estimated completion time.
When you are ready to begin, start answering questions.
2. Navigating the Exam Interface
The exam screen is designed to keep you focused. Here is a breakdown of what you will see:
The Question Display
Center Stage: The current question is displayed prominently in the middle of the screen.
Sidebar Overview (Left Panel): This panel displays your entire exam roadmap. It lists all Sections (e.g., Section 1, Section 2) and the corresponding Question Numbers (1, 2, etc.). Click any number to jump directly to that question or click a Section title to see what topics are coming up.
Hint: The Hint button at the bottom of each question gives you helpful information if you are stuck.
Point Value: The potential score for the current question is clearly visible next to the question title.
3. Answering Different Question Types
In acemate exams, you don't just mark answers; you interact with them. For every question, you will manually submit your response to get immediate feedback.
Multiple Choice Questions
Select: Click the option you believe is correct.
Submit: Click the blue Submit button to lock in your answer.
Feedback: The system will immediately reveal the correct answer and an explanation. If you were right, you’ll see the points added to your score instantly.
Open Ended Questions
Instead of simple "Free Text," these are designed to test your recall and synthesis.
Type: Enter your response in the text box.
Submit: Click Submit to check your answer against the model response.
Learn: Read the correct answer provided by the system to see how well you did.
using Study Aids
Don't guess blindly if you are stuck. Use the tools provided in the question footer:
Hint: Click the Hint button next to Submit for a nudge in the right direction without losing points.
Solution: (Exclusively for Open Ended Questions) If you are completely stumped, click the Solution button to study the full answer before moving on.
4. Recommended Workflow: The "Learn-As-You-Go" Approach
Since acemate provides immediate feedback after every submission, your strategy should shift from "test-taking" to "active learning."
1. Scan the Structure Before diving in, click the Section Headings to collapse or expand different parts of the exam. This gives you a high-level map of the topics so you can mentally prepare for what is coming.
2. The "One-Touch" Rule Because you submit questions individually, treat each one as a mini-quiz.
Read the question and try to answer without help first.
If you are unsure, use a Hint.
Submit your answer to see the explanation immediately.
Note: You cannot change an answer after clicking Submit, so be sure before you click!
3. Manage Your Sessions You don't have to finish in one sitting. If you need to take a break, just close the browser. You can restart from the exact same place later without losing your progress.
5. Answering, Feedback, & Completion
Acemate exams are designed for immediate learning. Instead of waiting until the end to see how you did, you submit answers one by one to get instant feedback.
Real-Time Submission
You do not need to wait until the end of the exam to submit your work.
Submit to Save: For every question, select your choice or type your answer and click the Submit button immediately.
Instant Feedback: Once you click Submit, the system immediately shows you the correct answer and the explanation.
Track Points: The points earned for that question are displayed next to the question title (e.g., "4 P").
Navigating & Managing Sections
Section Overview: Exams are often divided into logical sections. You can click on a section heading to collapse or expand it. This helps you get a quick overview of the exam structure and focus on one topic at a time.
Resume Anytime: If you need to leave the exam in the middle, don't worry. You can close the window and restart later from the exact place you left off.
Completing the Exam
There is no final "Submit Exam" button at the bottom of the page. The exam concludes automatically when the last question is answered.
Automatic Results: Once every question has been submitted, the Exam Results popup appears instantly.
Your Insights: This popup displays your total Score, Accuracy percentage, and XP Earned.
Next Steps: From the results screen, you can choose to start a New attempt to try again or view your progress.